Table of contents
- What Are Thinning Scissors?
- Best Thinning Scissors for Different Hair Textures
- Why Choosing the Right Tooth Count Matters
- How to Use Thinning Scissors
- Common Thinning Techniques by Hair Type
- Best Thinning Scissors by Experience Level
- How to Maintain Thinning Scissors
- When and How to Sharpen Thinning Shears
- Top 3 Mistakes to Avoid
Whether you’re refining bulky sections, blending harsh lines, or adding soft, touchable texture, professional thinning scissors are a must-have tool in any hairstylist’s kit. Used with skill, they elevate your work from basic cuts to beautifully sculpted styles.
This guide provides an in-depth look at what thinning shears do, how to choose the right type for your needs, and how to use them for maximum effect. Along the way, we’ll highlight top picks from SalonServe’s Scissor Collection tailored for various skill levels and hair textures.
What Are Thinning Scissors?
Thinning scissors – also referred to as texturising shears or blending scissors – are cutting tools specifically designed to remove bulk and add texture to hair without altering the overall length. They feature one or both blades with notched teeth, spaced evenly apart. These teeth cut only certain portions of hair with each closure of the blades, creating a soft and blended look.
Benefits of Thinning Scissors
- Reduce bulk in thick or coarse hair for a sleeker finish.
- Blend layers to eliminate harsh demarcation lines.
- Soften outlines in haircuts, particularly around the fringe or crown.
- Create texture for movement and dimension without altering the silhouette.
Key Difference from Regular Scissors:
While regular shears slice cleanly through every hair strand they touch, thinning scissors remove only a percentage of the hair per cut. This makes them ideal for creating gradual transitions rather than making bold or dramatic changes to shape.
Best Thinning Scissors for Different Hair Textures
Hair type plays a major role in selecting the right thinning scissors. Using the wrong shear can lead to uneven results or even damage. Here’s how to choose accordingly:
| Hair Type | What to look for |
|---|---|
| Fine or Fragile Hair | Scissors with fewer teeth (20–30), spaced wider apart. These remove less hair per cut and allow for more control. Top Pick: Haito Rozu 27-Tooth Thinner |
| Thick or Coarse Hair | Shears with 30–40+ teeth, made of high-grade stainless steel for durability and edge retention. Top Pick: Haito Akuma 6″ Thinning Shears |
Why Choosing the Right Tooth Count Matters
The number of teeth directly affects how much hair is removed per cut:
| Tooth Count | Hair Removed | Best For |
| 20–30 teeth | Less hair | Fine or fragile hair, subtle blending |
| 30–40 teeth | Moderate | General texturizing and layering |
| 40+ teeth | More hair | Bulk removal, thick hair, aggressive thinning |
Pro Tip: Think of tooth count like grit in sandpaper—the finer the grit (fewer teeth), the more delicate the finish.
Explore the full SalonServe Thinning Scissor Range to match tooth count to your cutting style.
How to Use Thinning Scissors
Basic Technique:
- Work on dry or slightly damp hair. This gives you better control and visibility over how much hair you’re removing.
- Divide hair into manageable sections. Use clips and a comb for precision.
- Cut mid-length to ends. Avoid cutting close to the scalp to prevent unwanted volume or visible lines.
- Comb through frequently to assess how the hair is reacting and adjust your technique as needed.
Where to Thin:
- Crown or nape areas where hair tends to bulk up
- Between layers to create softer transitions
- At the ends to remove weight and add movement
Common Thinning Techniques by Hair Type
Tailor your technique for best results:
1. Point Cutting with Thinners – For layered fine hair
Use the tips of Haito Rozu 27-Tooth Thinner to add soft movement without harsh lines.
2. Slide Cutting – For medium to thick hair
Glide the Haito Akuma 6″ Thinning Shears down the hair shaft to remove bulk and enhance shape.
3. Scissor Over Comb – For men’s cuts or textured crops
Use precision thinning with Haito models for controlled tapering.
Best Thinning Scissors by Experience Level
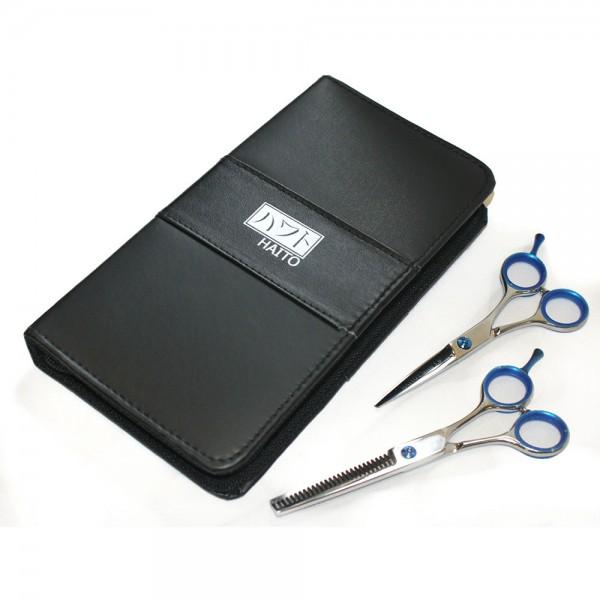
| For Beginners & Students | Top Choice: Haito Basix Thinning Scissors |
| For Experienced Stylists | Top Choice: Haito Akuma 6″ Thinning Shears Kuro Thinning Scissors |
How to Maintain Thinning Scissors
| Do’s | Don’ts |
|---|---|
| Wipe clean after each use with a soft, lint-free cloth. | Don’t cut extremely thick sections in one pass. |
| Oil the pivot screw weekly to keep blades moving smoothly. | Never drop your scissors—misalignment or blade chipping can occur. |
| Store in a protective case to prevent nicks and exposure to moisture. |
When and How to Sharpen Thinning Shears
Even premium scissors dull over time. Signs your shears need sharpening include:
- Pulling or snagging
- Uneven cuts or folding hair
- Increased resistance when closing the blades
Important: Use a specialist sharpening service experienced with thinning shears. The teeth require precise alignment – DIY sharpening can easily ruin the blade geometry.
Top 3 Mistakes to Avoid
- Thinning Too Close to the Scalp
Can cause frizz, stick-out sections, or patchiness.
Always work from mid-shaft to ends. - Over-Thinning Fine Hair
Leads to limp, lifeless results.
Use a light touch and limit passes. - Using Dull Scissors
Results in tearing rather than cutting, increasing damage risk.
Maintain a regular sharpening schedule.
Ready to Upgrade Your Toolkit?
Choosing and using the right thinning scissors is essential for polished, professional cuts. From mastering techniques to understanding which models best fit each hair type, every detail counts. With quality options from the SalonServe collection—like the Rozu, Akuma, and Haito series – you’ll be fully equipped to elevate every haircut you deliver.
Browse the full range of SalonServe Thinning Scissors and Razors to find the right fit for your skill level, cutting style, and clients’ hair types.
Explore the full Scissors Collection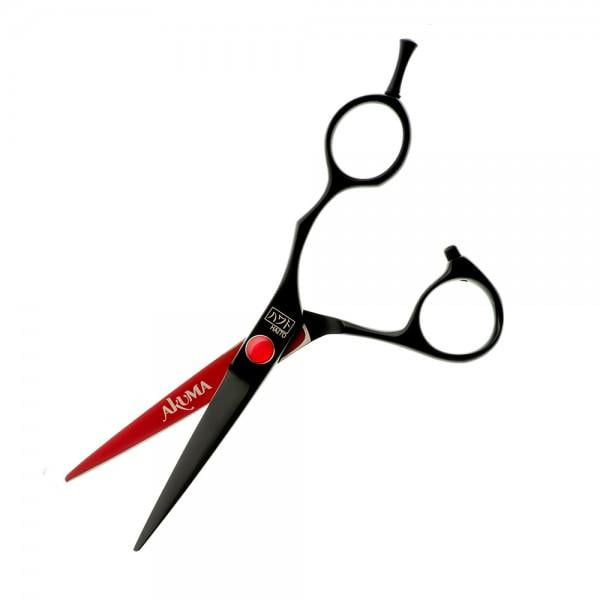
HAITO – AKUMA – 6″ Scissor
£55.00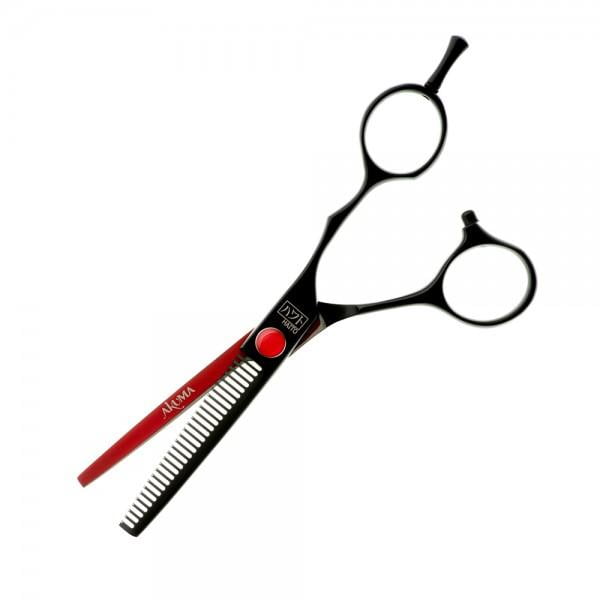
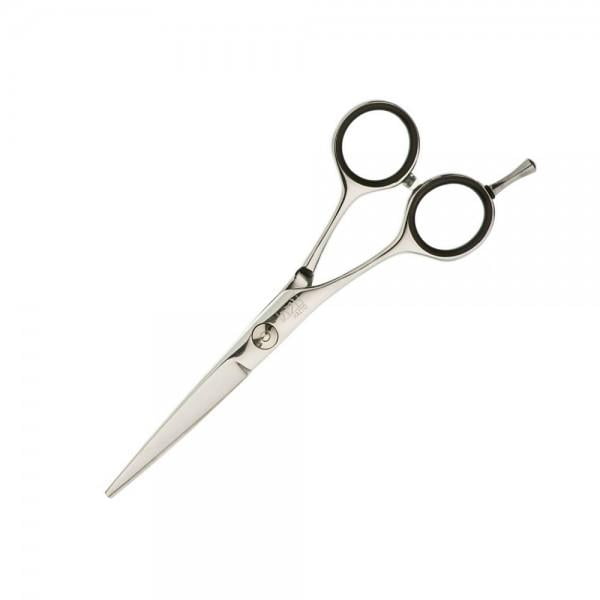
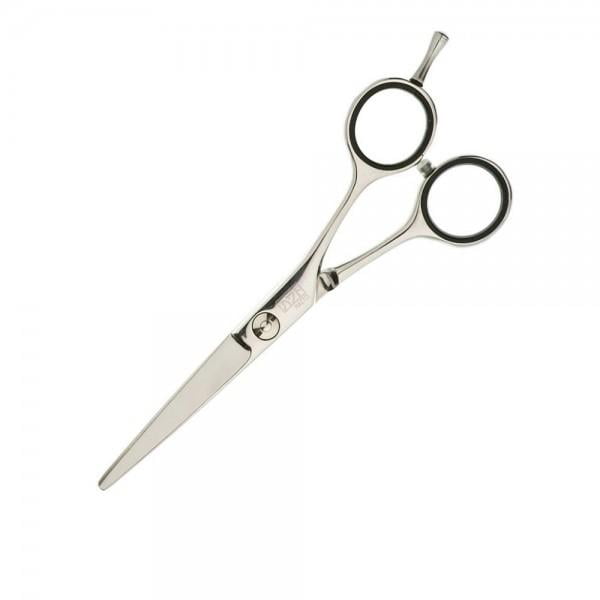
HAITO – Basix Classic 5″ Scissor
£15.40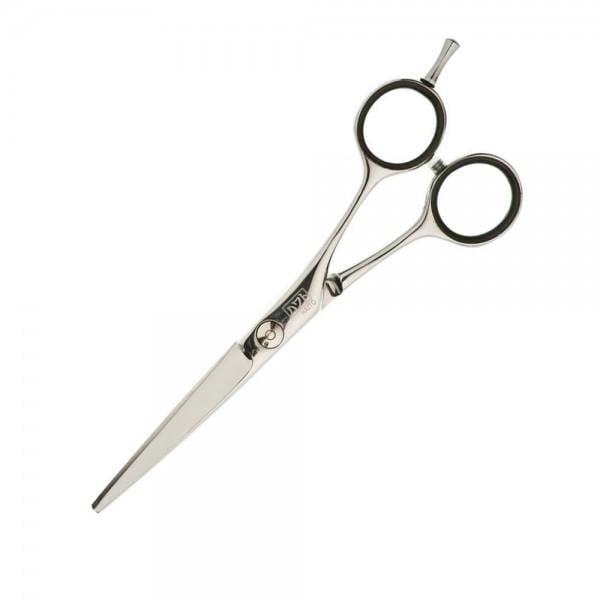
HAITO – Basix Classic 5.5″ Scissors
£15.95
HAITO – Basix Classic 5.5″ Thinner
£17.30
HAITO – Basix classic 6″ Scissor
£15.40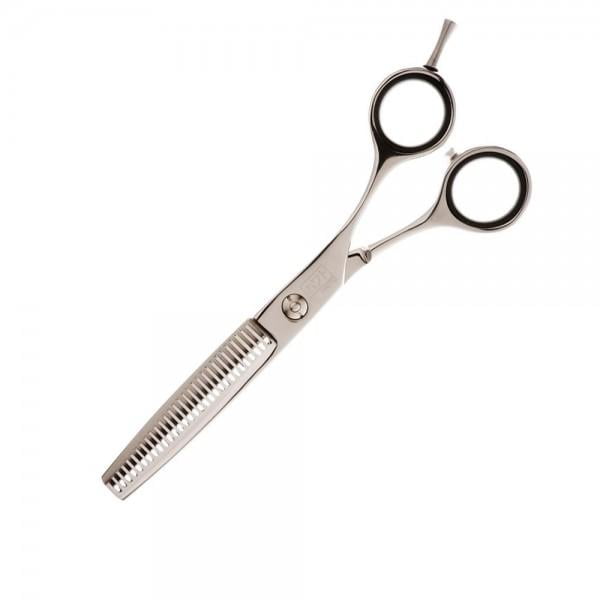

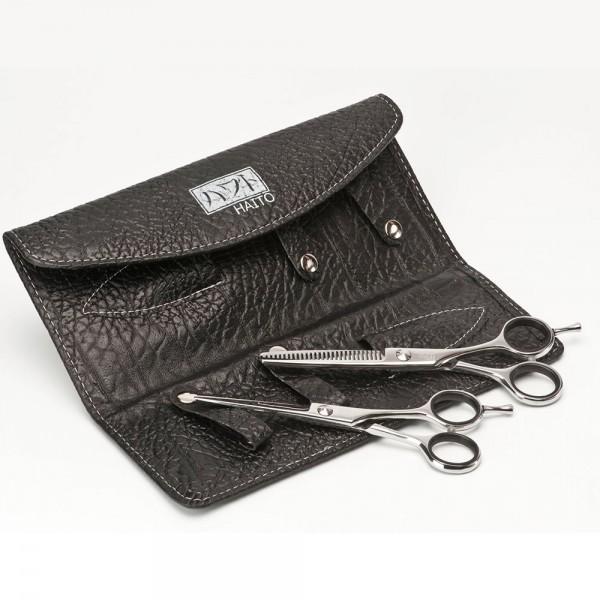
HAITO – Basix Scissor Kit 5″
£36.95